The Buddha Bowl Stand part two, A photo essay

Starting with 2 1/4 inch wrought iron.

Shouldered, cut and fullered

The top joint

Slitting the arms to hold the bowl.


Tightening the fit

Straightening and fitting.

The legs.

My friend and wonderful blacksmith Eric Dewey dropped by to help with a leg.

Wrought iron is all different. Found at the salvage yard, I never know quite what I will get. I got lucky here.


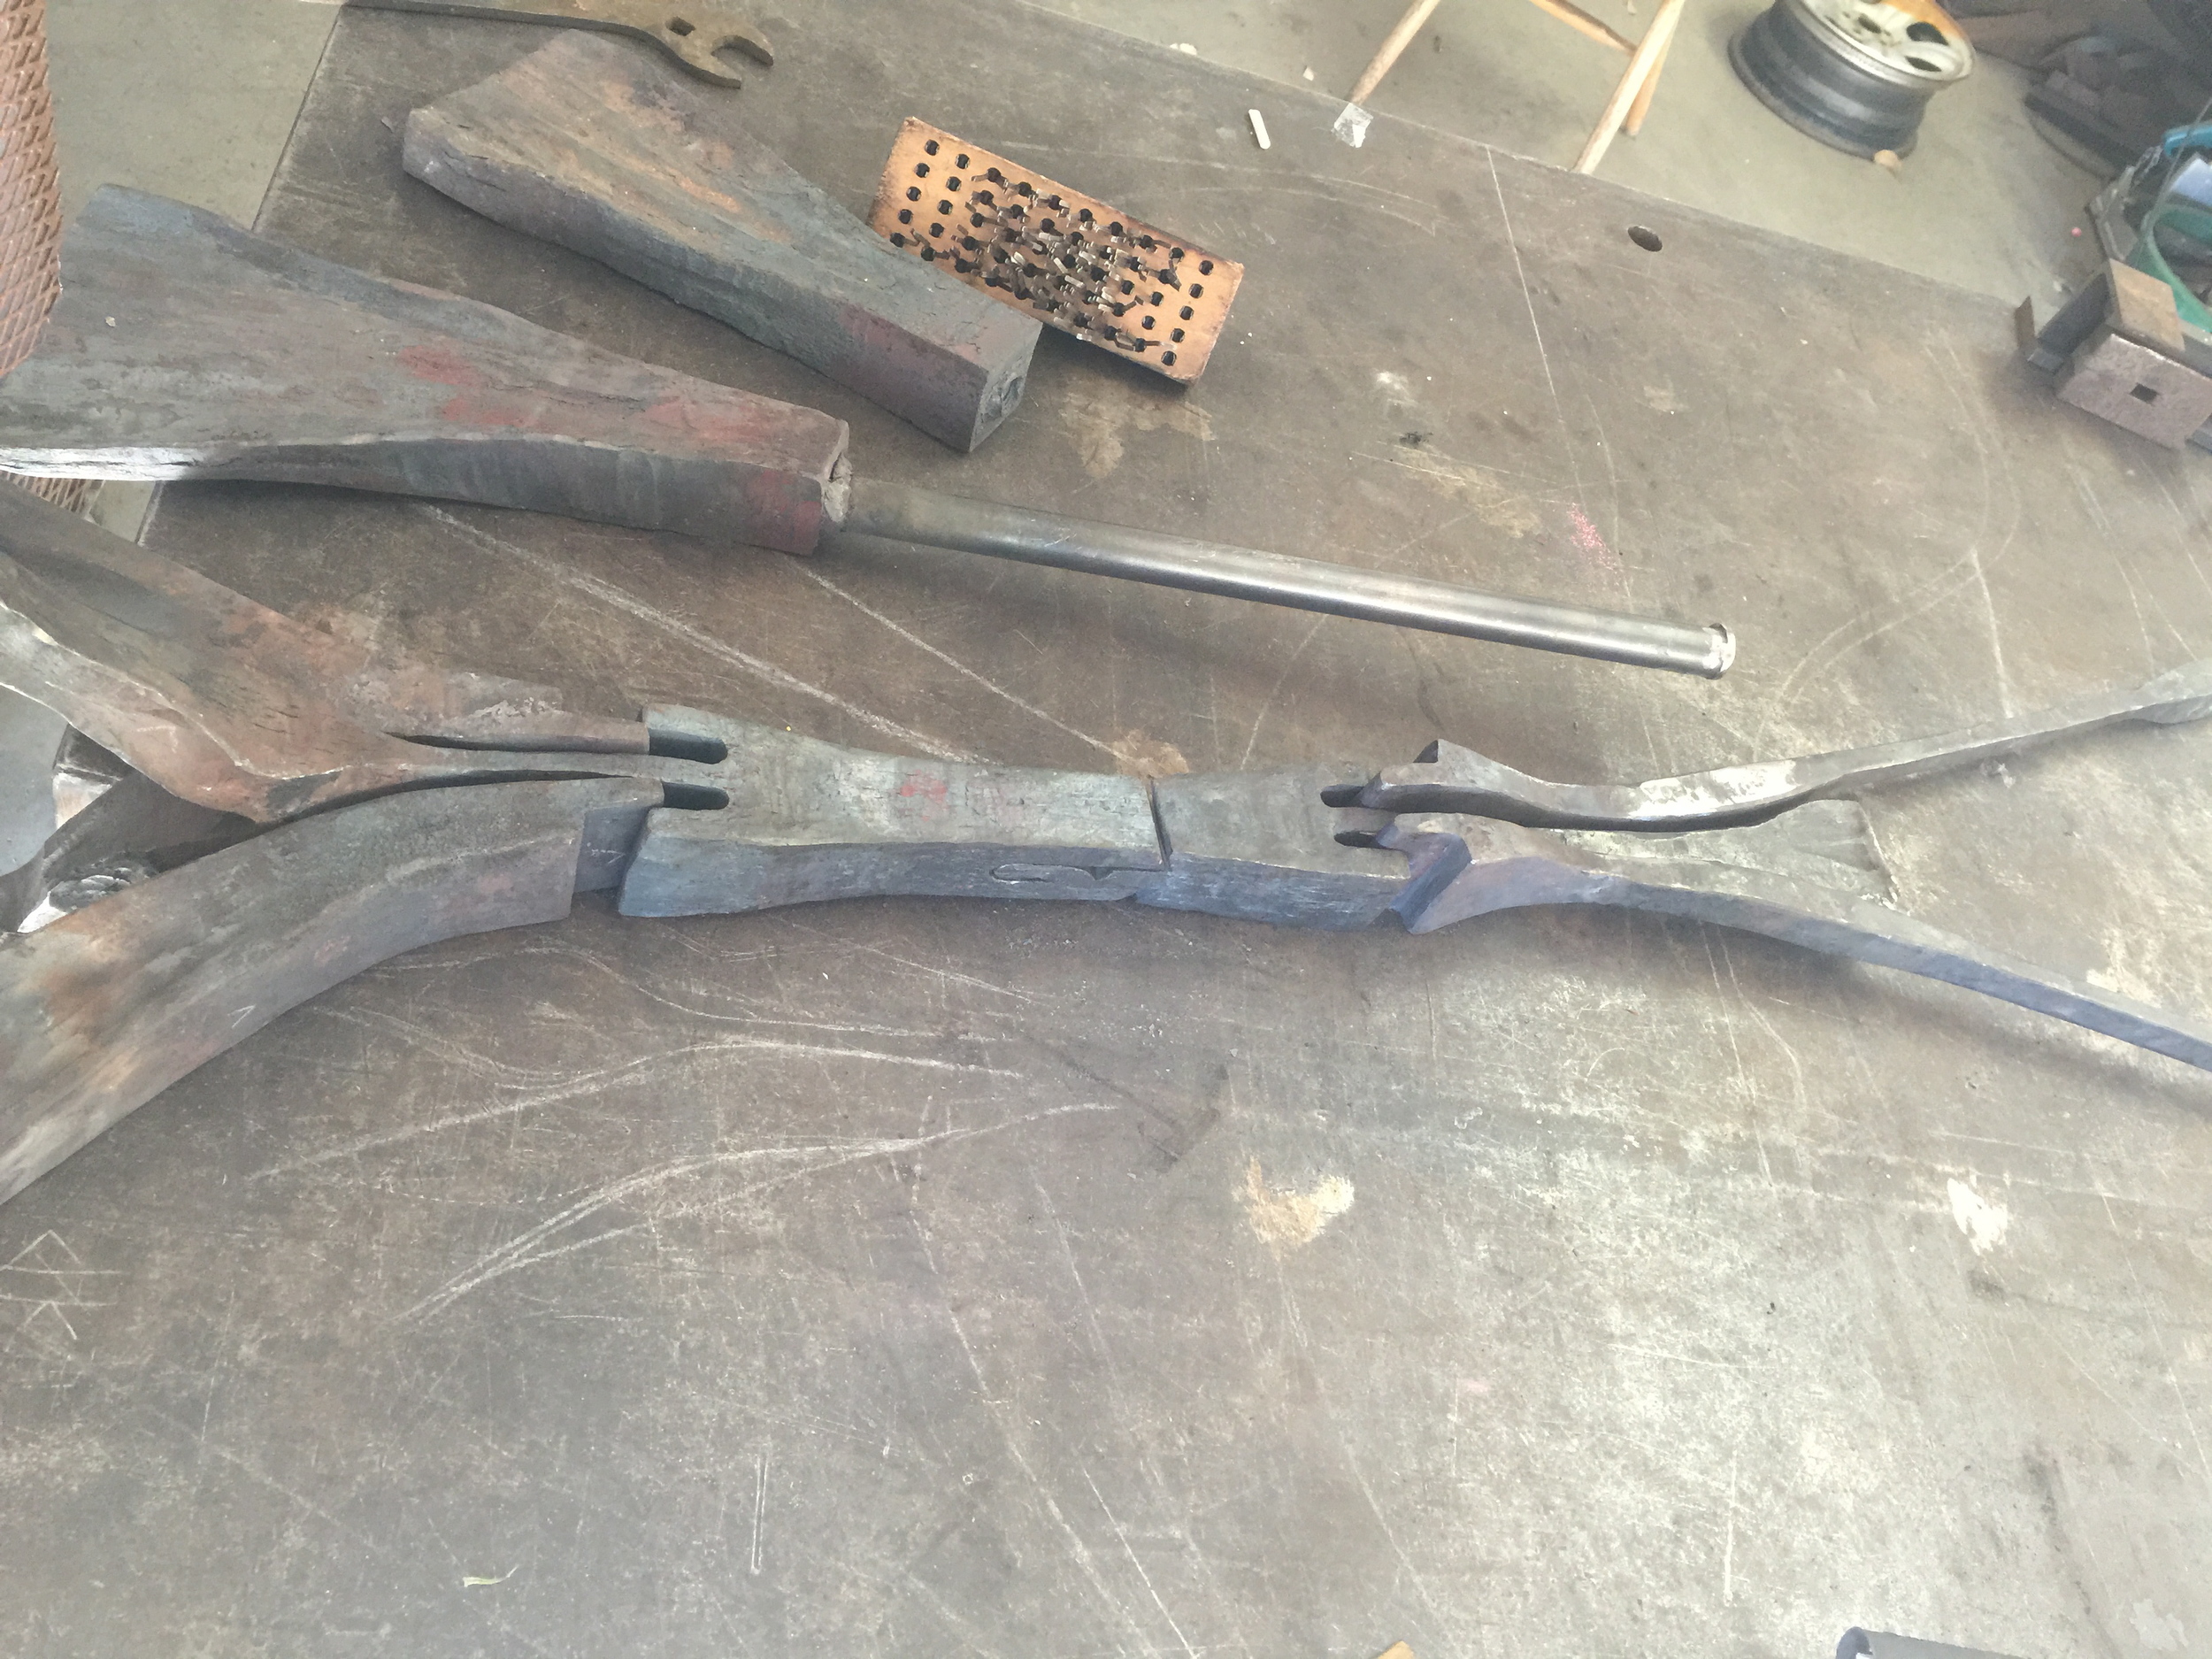
Fitting the bottom center joint.

Tightening joint.

Bottom joint

Figure it out. The middle joint.

Flypress

Starting to believe.

The center, a lapped mortise and tenon joint.

The plan is to use square pegs to hold the top to the bottom.


Making some tools to help.


I built a jig and using the vice I could drive a drift which spread the iron in a controlled fashion.

It worked!

The bottom leg layout.

Splitting the bottom leg. Calling in reinforcements. My husband, Colum.

Beautiful wrought iron texture.

Dry fit before setting tenons and rivets.

Bottom leg joint squeezed and tenon.

Fitting the pegs and rivets.

Beeswax, turpentine and linseed oil finish.

And then the bronze pegs.

Ready to go.


